We have a lot in common.
For example, we all try to push a clearly marked “pull” door from time to time. Or have you ever locked your keys in your car? Yeah, us too. It’s tough being us sometimes.
Whether it’s burnt cookies, paper cuts, or a text message that was clearly meant for your significant other and was accidentally sent to your mom… mistakes happen. They could be little things like washing a red sock with all your whites, or rather large ordeals like Columbus thinking he bumped into India when he discovered the new world. Oops… sorry Chris.
So what’s the best way to combat common mistakes to avoid pain, suffering, and overall public embarrassment? Learn from everyone else’s blunders and bloopers, of course! So take a look at our list below to make sure you avoid these common mistakes when assembling your trampoline!
Frame Assembly: To avoid public embarrassment later, you do have to look a little silly from the start. Always start assembling the trampoline frame upside down. While this is stated in the manual, we all know that sometimes it’s easy to get a little assembly-happy. So, make sure your frame holes are facing the ground when you begin, and don’t worry about flipping the frame sections right side up again until a few steps later.

Enclosure Pole Assembly: Another common blunder that causes frustration is not correctly lining up the holes on the enclosure pole tubes. The curved tube has two holes on one end and one hole on the other. If the two-hole side isn’t on top, then you won’t be able to screw on your pole cap. Trust us, your future self will thank you if you do it right the first time.

Net Assembly: If you’re assembling a round trampoline (which most of you probably are), make sure the enclosure net door is aligned over a T-joint and NOT a T-socket. We’ve included these lovely pictures so you can easily tell the difference.


If you align the door over a socket, your net will end up a bit crooked and a pole will be blocking the doorway. And then your neighbors might make fun of you.

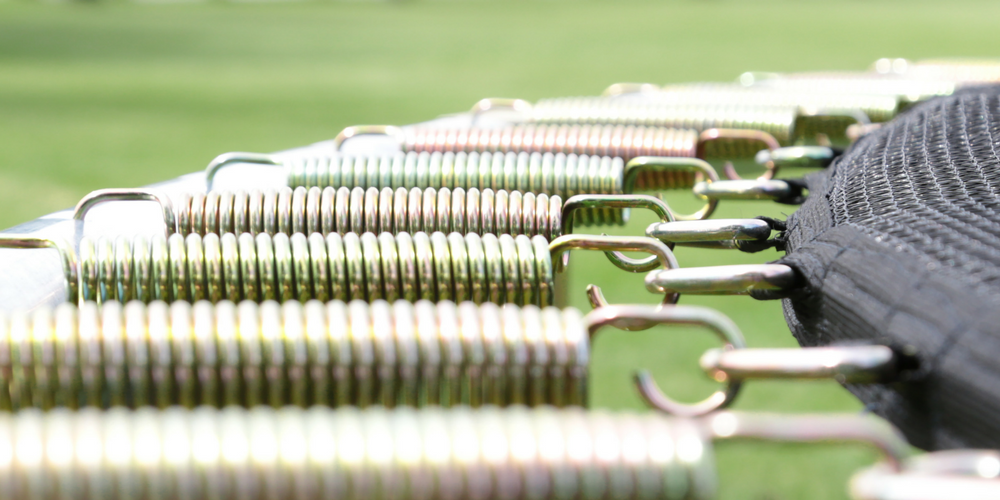
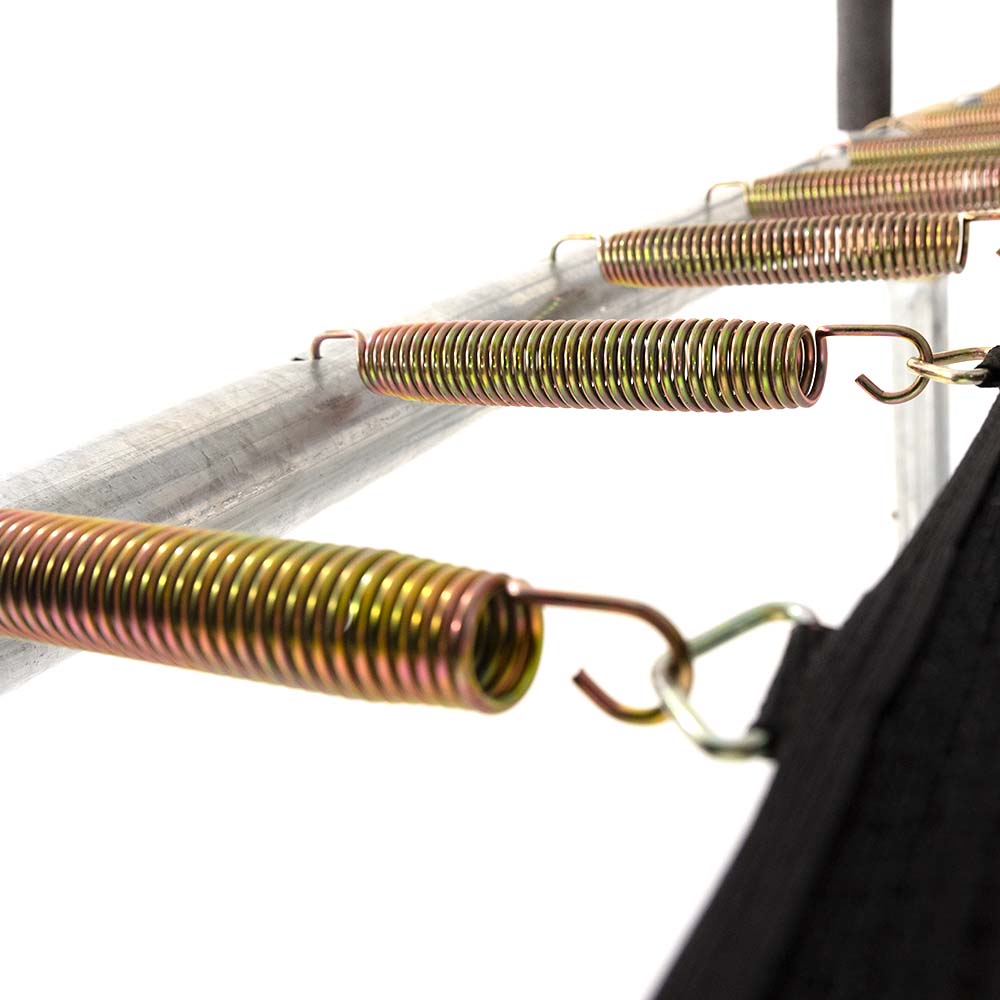
Spring Placement: The fatal flaw here is when fellow assemblers think they’re smarter than the man. Well, the man(ual) to be exact. We have a specific spring placement pattern in all of our manuals, and it’s crucial to follow each step! If not, the springs will be unevenly stretched and the jump mat won’t be centered. Always take the time to ensure that each v-ring and frame hole line up. If your spring is one v-ring or frame hole off, then your springs will end up slanted.

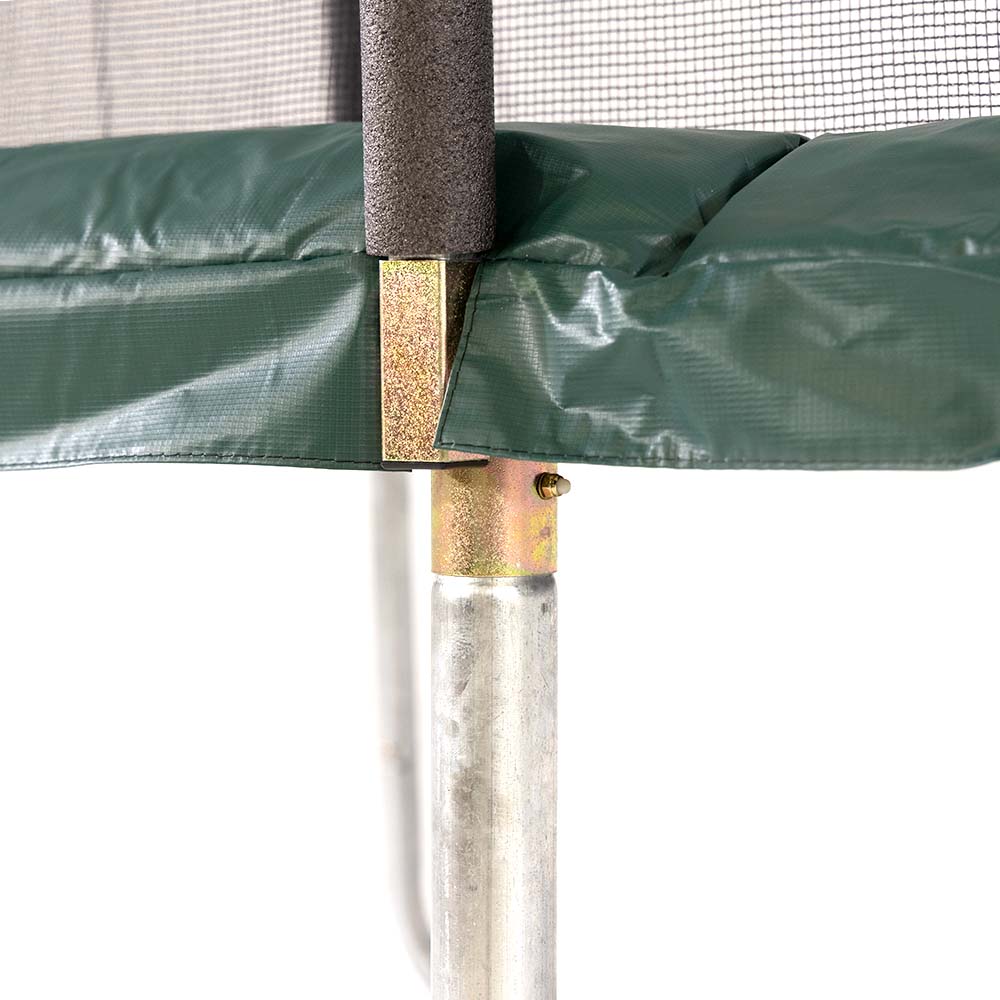
Pole Cap Assembly: This one is a common mistake that we see frequently! But no worries, we’re here to save the day (and your pole cap). On your pole cap, you’ll notice there are two sides: one with a hexagon hole and one with a regular hole.


IF THE BOLT GOES INTO THE SIDE WITH THE HEXAGON HOLE, YOU WILL BREAK THE POLE CAP. I repeat hexagon hole is bad, round hole is good. Once you insert the bolt into the round side, it will easily fit into the nut on the hexagon side. Easy as pie.

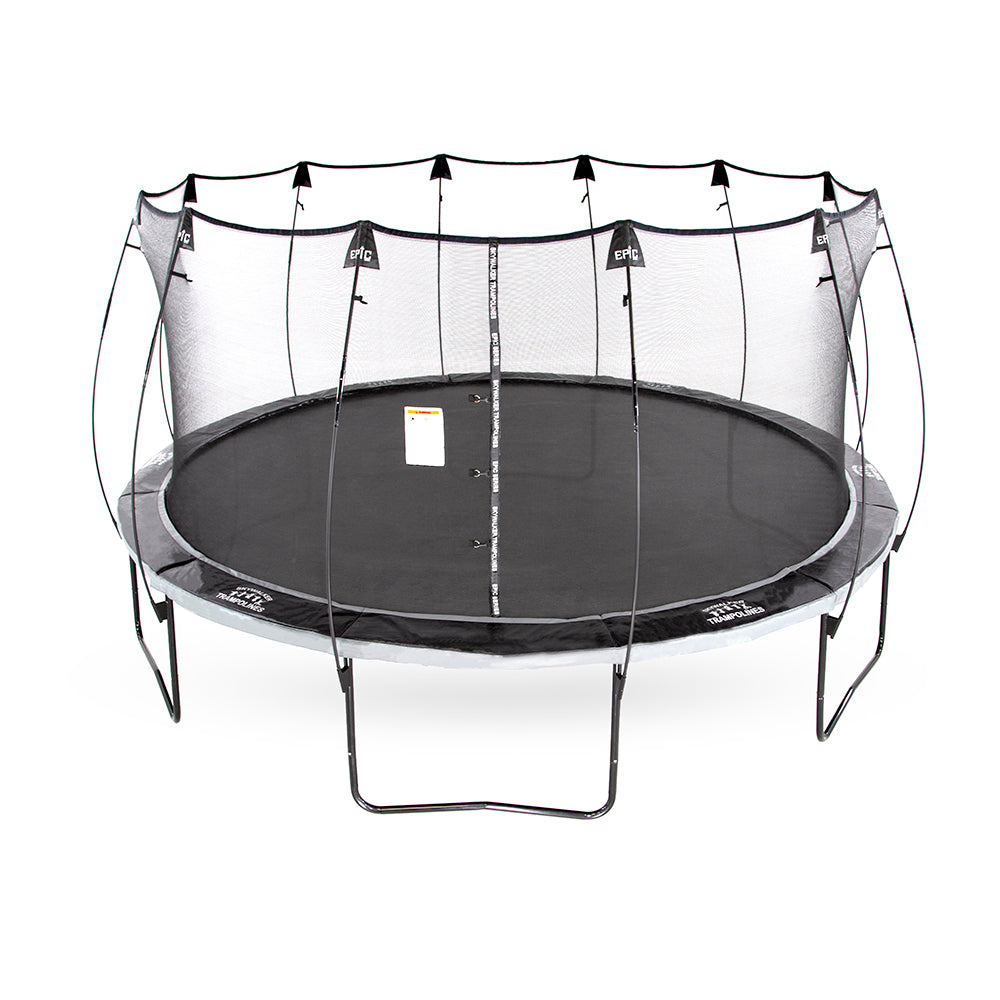
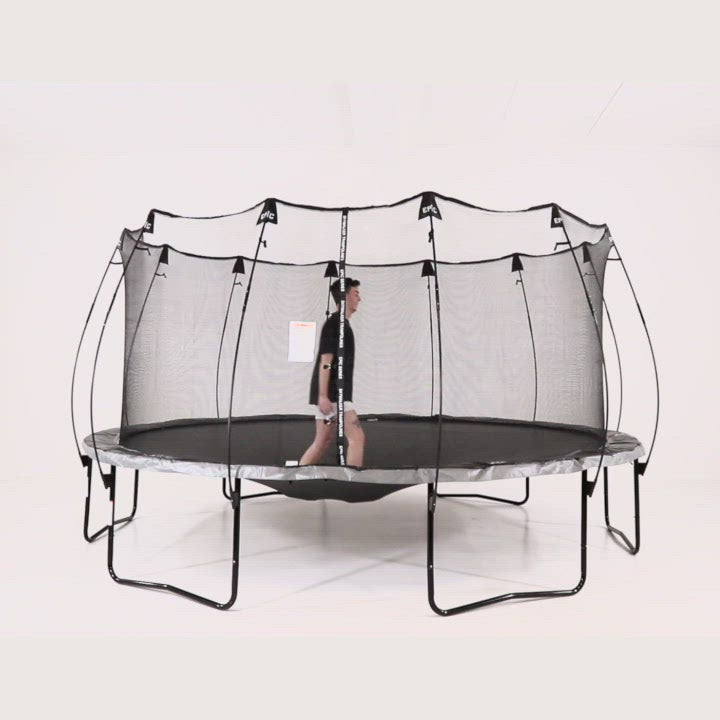
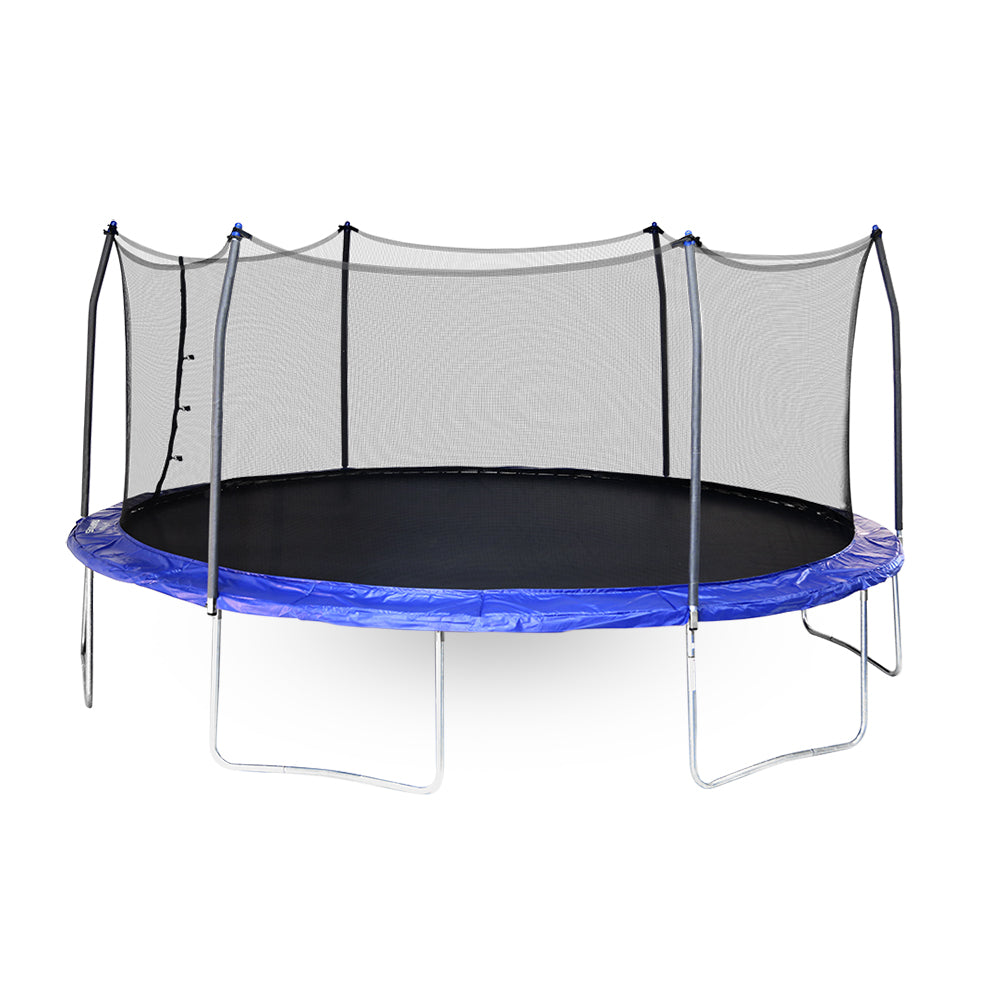
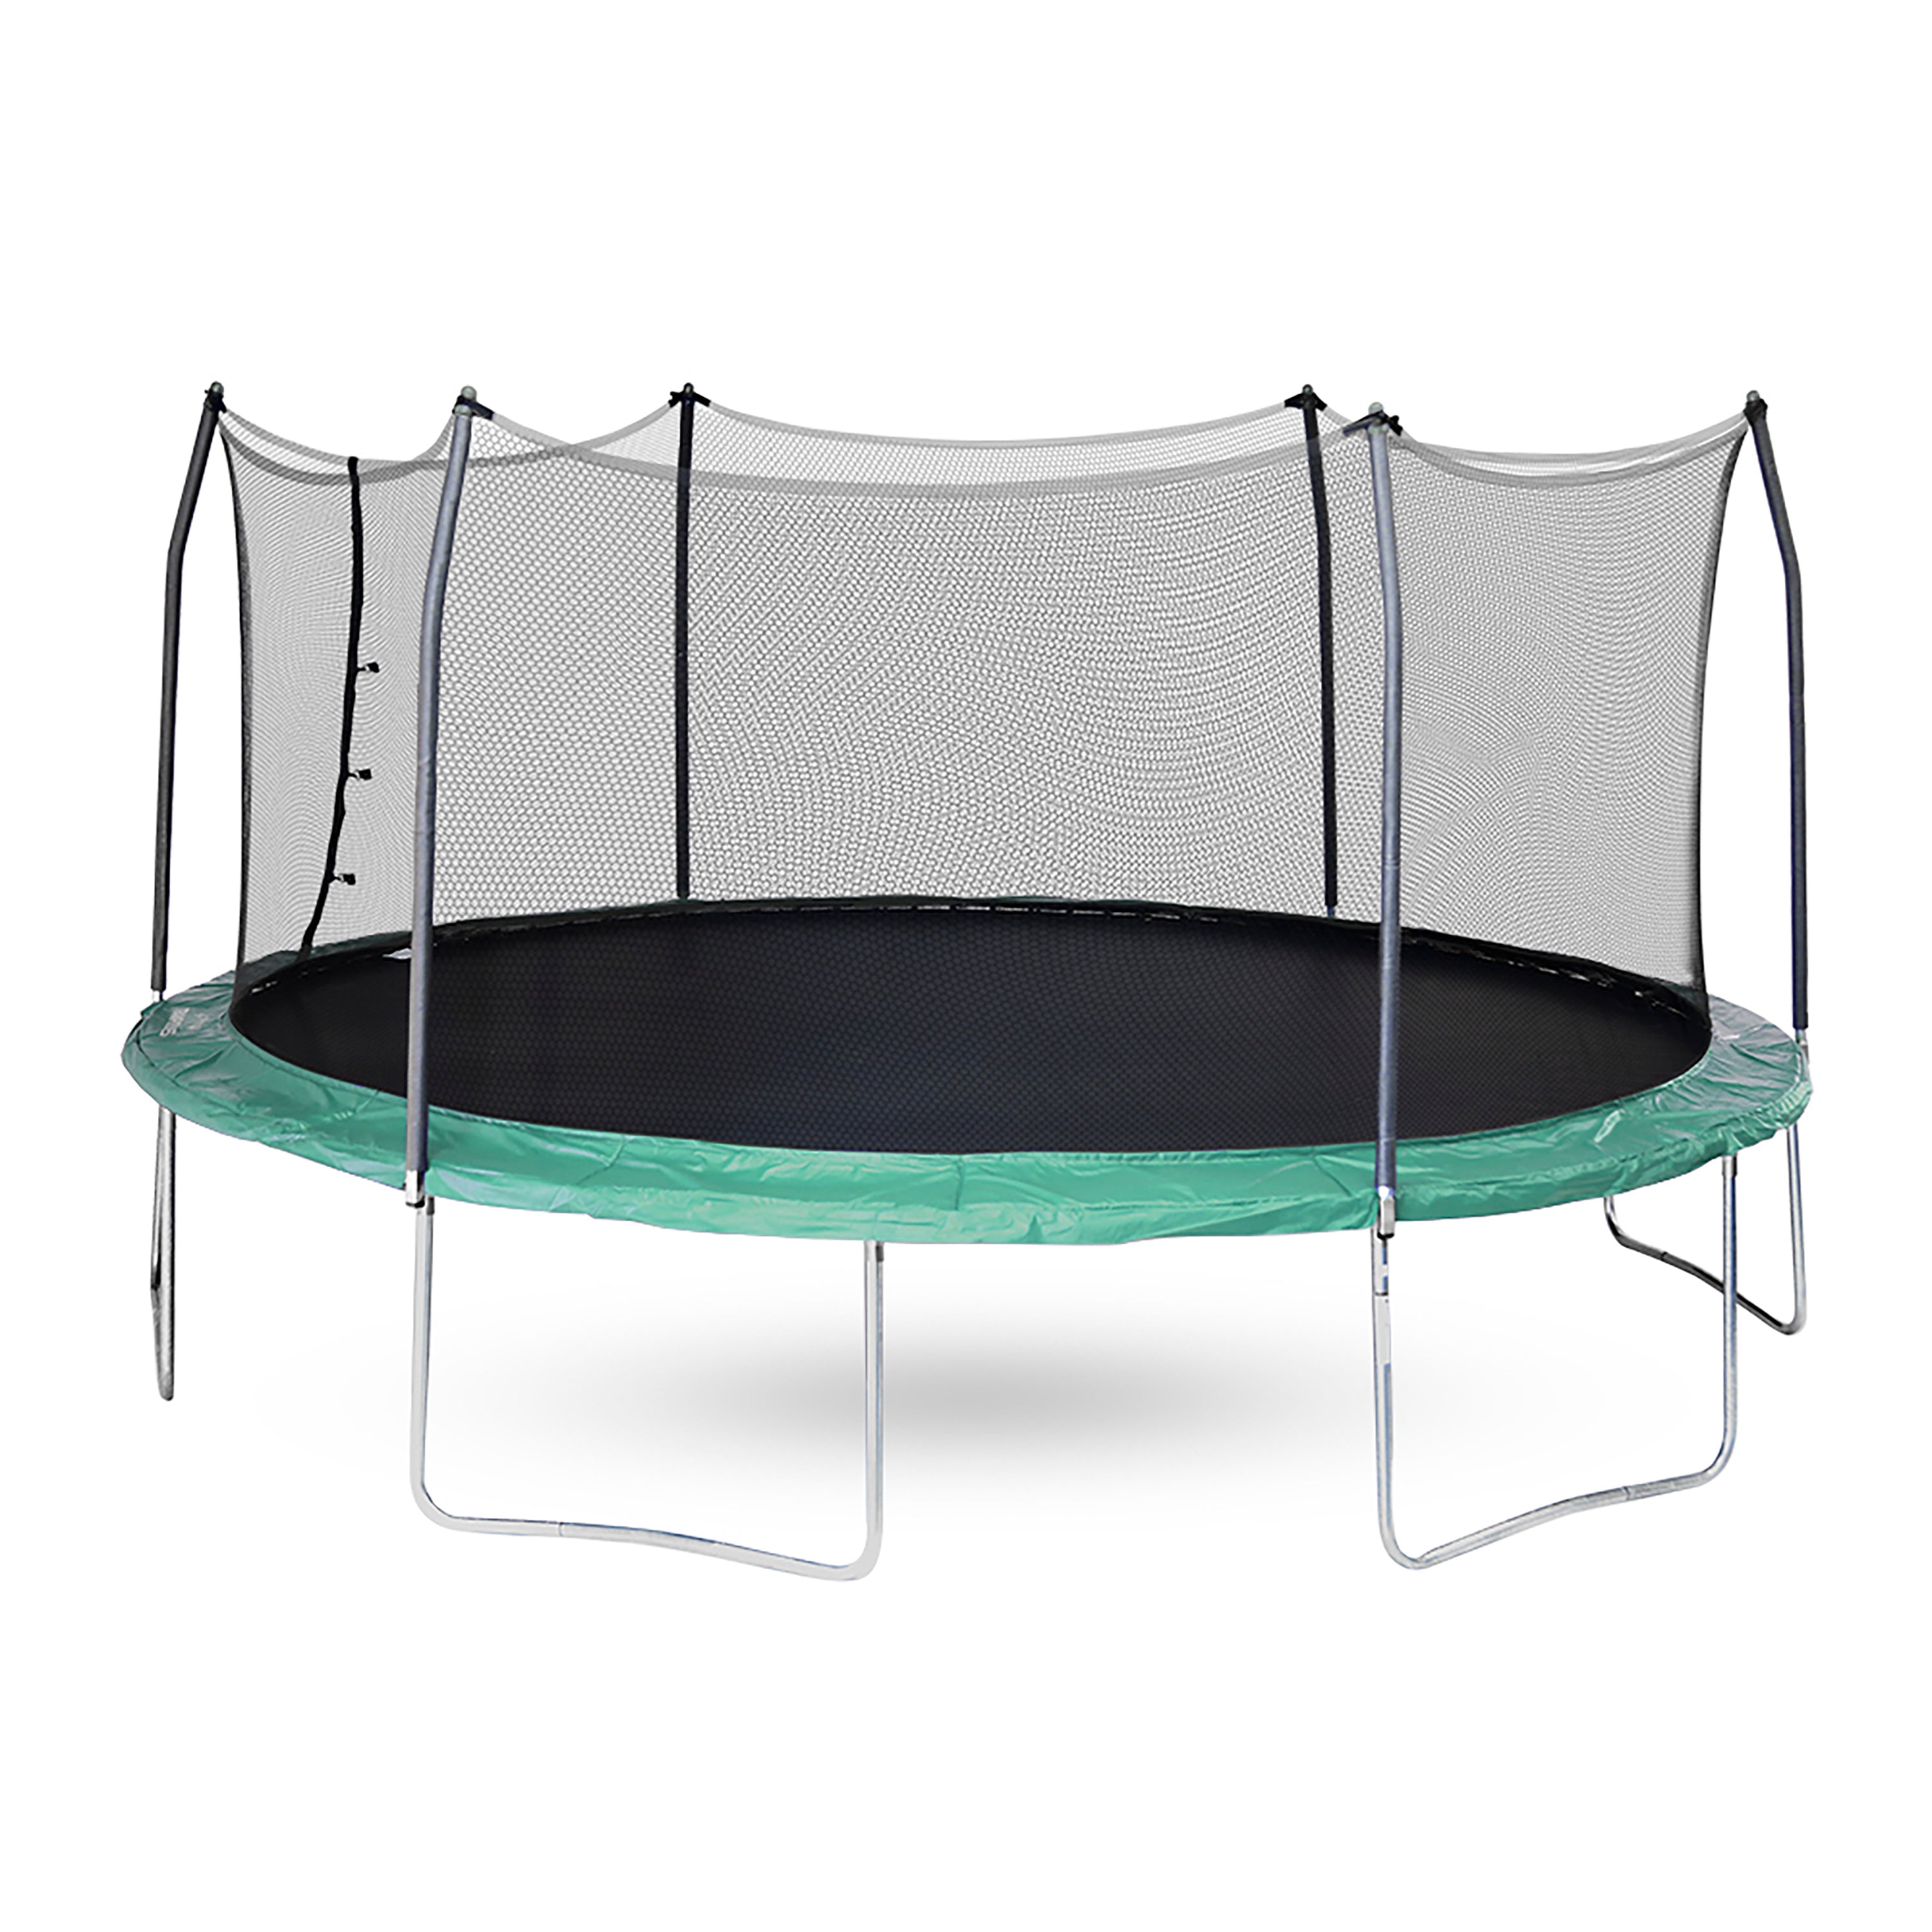
Oval Trampoline Assembly: Those of you who are about to embark on the assembly of an oval trampoline… may the odds be ever in your favor. But really, the oval isn’t that hard to assemble, it’s just that you’ll need to pay close attention!
Many times, when assembling an oval, people will switch the leg brace with the curved tube. They may look pretty similar, but the leg brace is a lot shorter. So you can imagine what you might run into when you’ve finished your trampoline… you’ll have a really wide base and a really short enclosure system. And your neighbors might make fun of you. Again.


Oval Trampoline Frame Assembly: Another common mistake when assembling an oval trampoline is that key #1 and key #2 will be switched. Unless you’re one of those nerds who like reading trampoline manuals for fun, you probably don’t know what this means. Here’s what it means: just follow the manual. Seriously, it’s like a recipe for success. The manual describes the difference between keys 1 and 2, so make a note and follow the pattern!

And like we said, not everyone is perfect. It’s totally okay if you accidentally assembled your trampoline upside down and backward. Or if you assembled your trampoline in your front yard and now you have to move it to your fenced-in backyard. Or if you recently attempted a DIY haircut. We all make mistakes.
For more visual instruction, check out our assembly videos on YouTube!
And if you ever want to talk about some of your recent mistakes, feel free to call our customer service at:
(866) 603-5867
(We promise we won’t make fun of you.)







Leave a comment
All comments are moderated before being published.
This site is protected by hCaptcha and the hCaptcha Privacy Policy and Terms of Service apply.